Oculus Quest will show the real environment instead of virtual home environment
Oculus Quest will show the real environment instead of virtual home environment
Users of the Oculus Quest can now see the real world (though the black-and-white) instead of the virtual home environment in the headset's menu.
This option appears in the software Quest version 16.0, which was released this week.
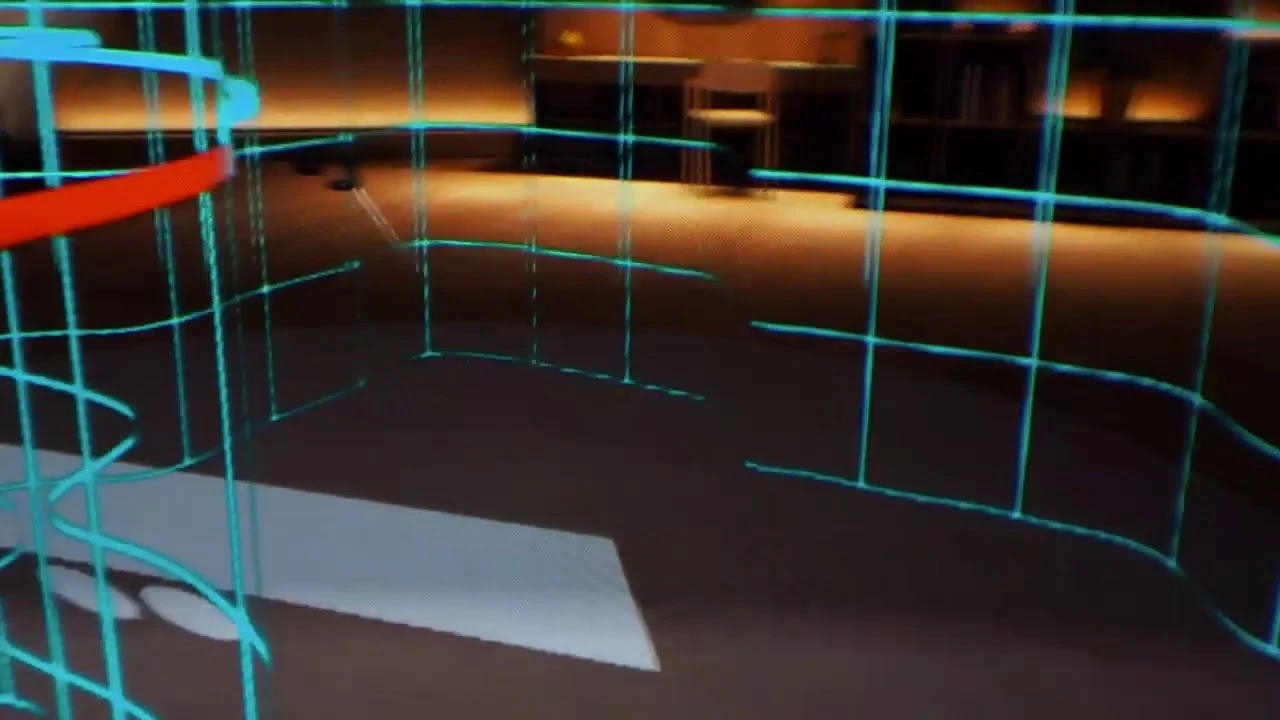
Quest is equipped with four cameras fisheye at the front corners of the device. Cameras are mostly used to track the headset and controllers, but you can also see the real world when setting up a security system Guardian, or if not within the playing space. This is called "Passthrough" - technically this is a very basic form of augmented reality. Also you can now set the boundaries for the Guardian without a controller, instead using hand tracking.
Since the camera's black and white, you can't see the color of the real world. The resolution is also relatively low and you will sometimes see visual distortion. But it provides a useful representation of the real world.
When Quest was launched in may 2019, this see-through view was not stereo correct, it meant that the scale was wrong, and it could cause eye fatigue when viewed for extended periods of time. In October was released the update of "Passthrough +" , resolves this problem.
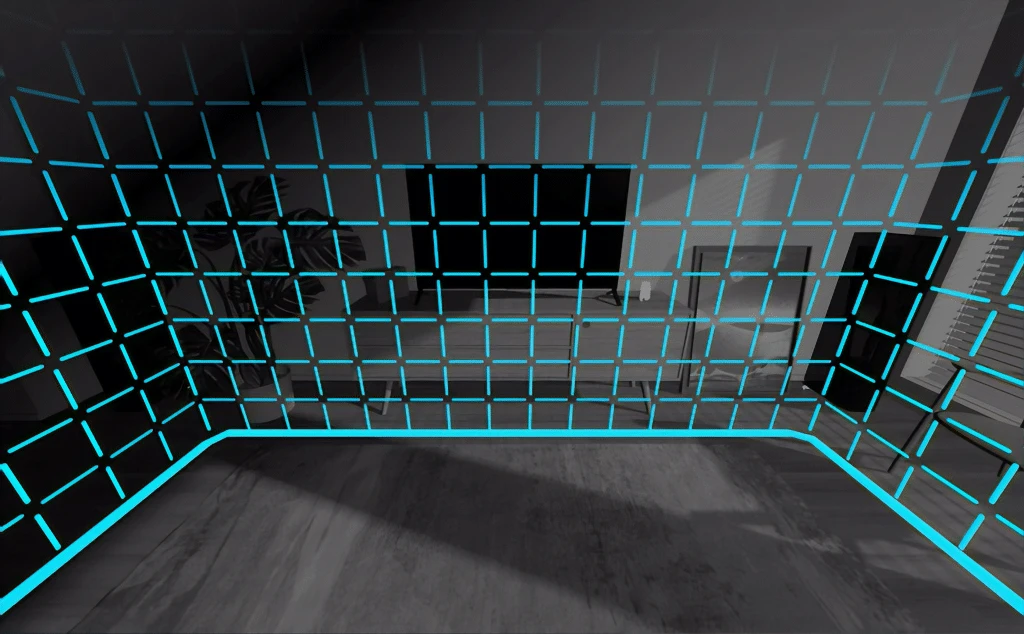
To set the Passthrough + instead of a virtual home environment, go to the tab "Virtual environment" (Virtual Environments) in the settings menu in-VR.
In conjunction with the restructuring of the user interface, which brings the smaller, but closer to the virtual menu, the result almost feels like a pre-interface mixed reality.
However, this function has a pretty serious drawback. Quest has no idea about the geometry of your room - he just knows where it is relative to certain objects in your room. This means that the virtual menu always appear on top of the real world, even if it is the object, which are almost always your hands. This conflict of depth is a feeling of discomfort.
With the improvements which are observed in the system software of the Oculus Quest, maybe Facebook plans to use the area of hand tracking without a controller to selectively show your hands at the correct depth, however, there may be technical issues preventing that.
In the future when the standalone headset will be able to display color through the picture and to correctly handle the occlusion depth, end-to-end display in the system menu may be the main function or even the default.
Improved social features
Integration to Facebook continues to evolve: those who use the Facebook app on their smartphones, will from time to time to see the option "Open in VR" for certain content . After activation of the content displayed in VR glasses .
The group chat feature in the Oculus Quest has been improved and now you can send and receive Internet links that open the browser when clicked. When you enter the chat, the virtual keyboard appears automatically.
In the controller settings you can set the intensity with which Oculus Touch vibrate, or completely disable haptic feedback. Lefties can replace the functions of the system buttons and menus on the touch controller.
A number of fixes and improvements for the Oculus Link to complete the upgrade. 16.0 Rift Update coming out at the same time and also brings improvements for the Oculus Link from operating system to Rift.
You can read the full list of improvements on the Oculus forum .
Source 1
Source 2